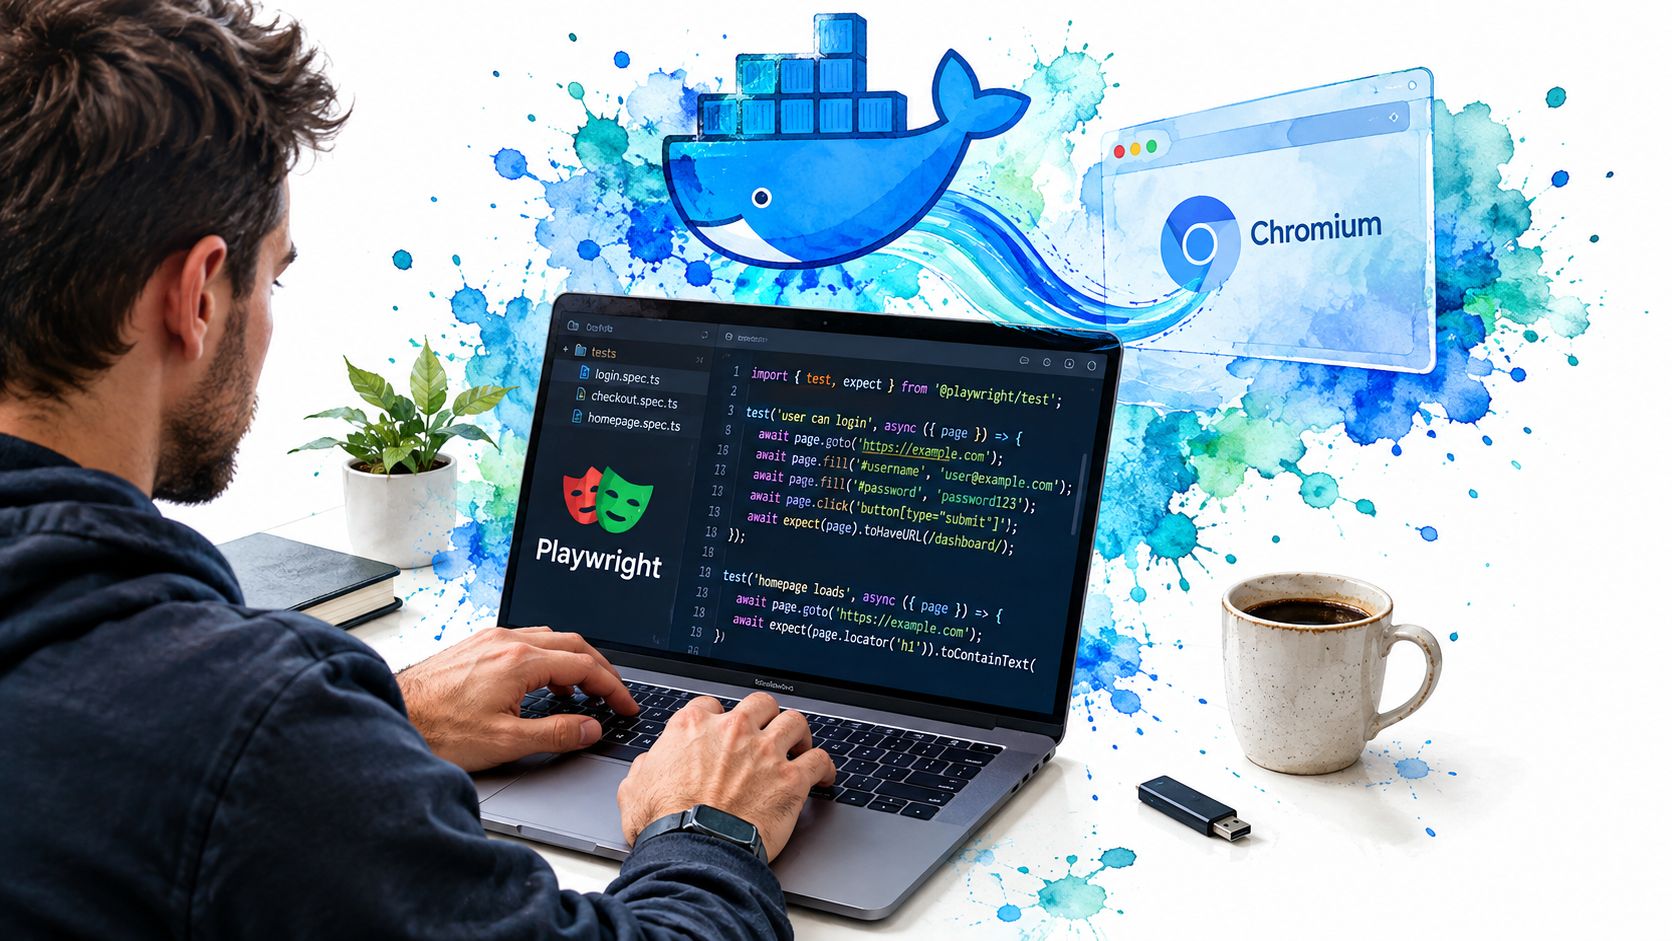
You know the feeling. A Playwright test runs clean on a laptop, then dies in CI because the browser binary on the runner has drifted, the container is missing a system library, or /dev/shm is too small for Chromium to stay alive. Playwright Docker solves that by making the browser, the SDK, and the runtime live in the same repeatable image, so the same test can fail or pass for the same reason everywhere.
That matters because Playwright isn't a single-browser tool. It automates Chromium, Firefox, and WebKit through one interface, and the project has stayed actively maintained since its 2020 launch, with frequent releases and a broad language ecosystem across JavaScript, TypeScript, Python, Java, and .NET as summarized in the project history). Docker gives you a place to pin all of that together instead of letting the machine underneath decide the outcome.
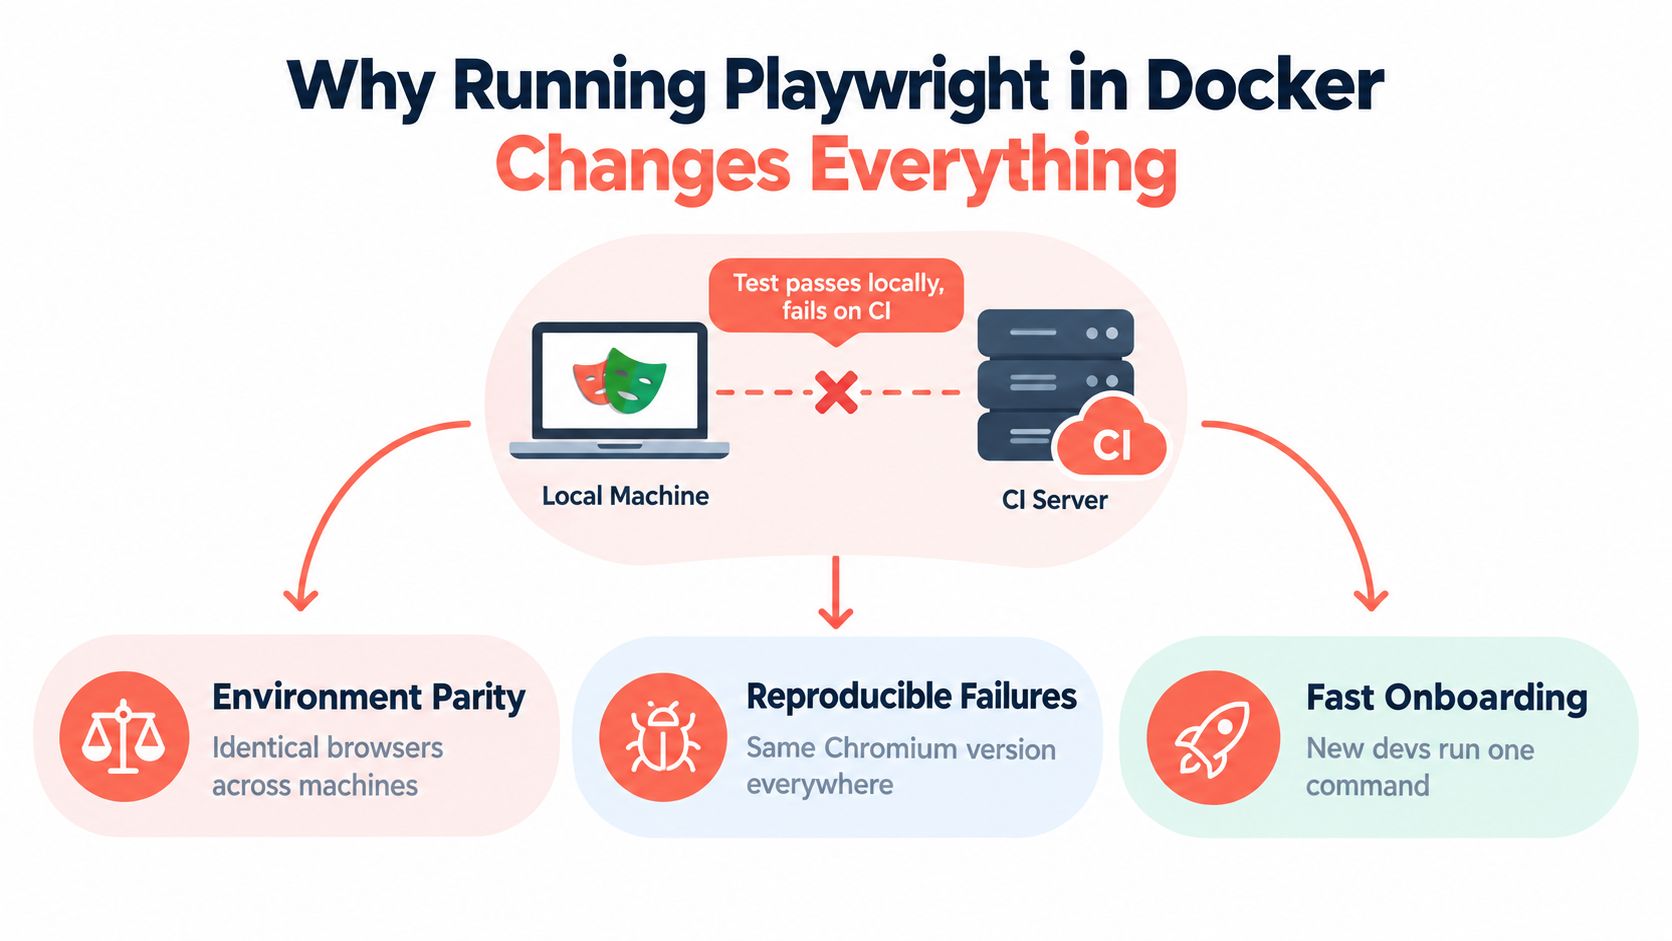
The value isn't convenience, it's predictability. Docker won't make browser automation faster by default, and it won't magically fix a flaky test, but it does let you run the same browser stack on a laptop, in CI, or in a scraping fleet. That consistency is exactly what breaks the "it only fails in production" loop.
Compare the automation trade-offs with Selenium and Playwright
Table of Contents
- Why Running Playwright in Docker Changes Everything
- Choosing and Layering the Right Base Image
- Official Playwright Image vs Custom Build vs Clearcote
- Mounting Volumes and External Browser Binaries
- Connecting Over CDP to a Running Container
- Debugging Playwright Inside Docker
- Operational Reference and Next Steps
Why Running Playwright in Docker Changes Everything
A browser test that passes locally and fails on CI usually points to a hidden mismatch. The culprit can be the Playwright package, the browser binary, the base image, or the shared-memory setup inside the container. Docker doesn't make that mismatch impossible, but it makes the mismatch visible and controllable.
The strongest reason to containerize Playwright is environment parity. A container image captures the runtime layer, so the browser sees the same libraries and system assumptions in every run. That's useful for QA, for scraping fleets, and for any automation that needs one stable execution target instead of a different workstation story every time.
It also gives you a cleaner separation between what changes often and what shouldn't. Your tests can evolve quickly while the browser layer stays pinned, which reduces surprise when a browser release lands before your code is ready.
Practical rule: if the failure disappears when you switch machines, treat the environment as part of the bug.
Docker also opens a second mode that a lot of teams miss, a long-lived browser container that you attach to instead of rebuilding for every script run. That's useful when one browser instance serves multiple jobs, or when you want profile-based automation that stays alive longer than a single test process.
There's one limit to keep in mind. Docker can align the stack, but it won't make a bad assertion good, and it won't hide a site that blocks your automation for behavioral reasons. It solves repeatability, not intent, so use it as the control layer rather than the cure-all.
Choosing and Layering the Right Base Image
A Playwright Docker build usually succeeds or wastes time at the image layer. The official mcr.microsoft.com/playwright image is the fastest way to get a working container because it already includes the browser binaries and the OS dependencies Playwright expects. The Playwright package itself still needs to be installed in your app build, so keep the browser layer and the application layer separate.
Pin the image tag you want, then treat Dockerfile order as a performance tool. Copy lockfiles first, install dependencies with frozen resolution, then copy source and tests last. That keeps the browser layer stable while code changes stay in the smaller, cheaper layers below it.
A practical Dockerfile usually follows that pattern:
FROM mcr.microsoft.com/playwright:v1.54.0-jammy

WORKDIR /app

COPY package.json package-lock.json ./
RUN npm ci

COPY . .
RUN npm test
The order matters. If you copy the full project too early, every test edit blows the cache and forces a new dependency install. If you install dependencies at runtime, every container launch pays for package resolution again, which is wasted work in CI and local debugging alike.
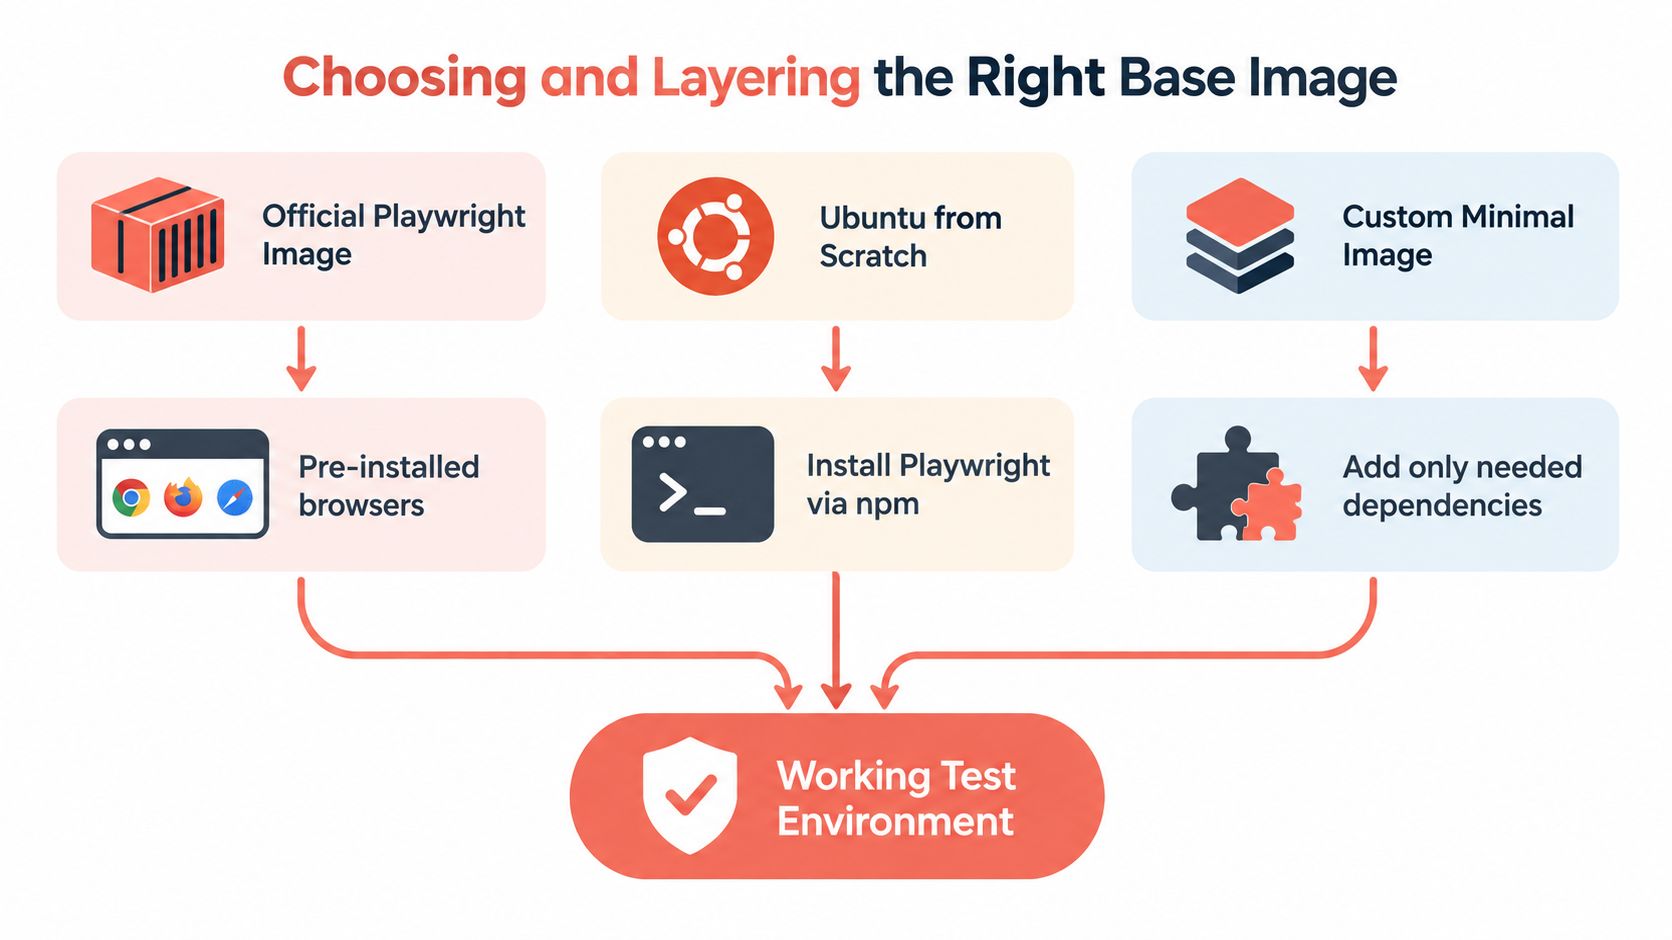
A from-scratch Ubuntu image gives tighter control over system packages and can fit teams that want to trim the runtime to exactly what they need. The trade-off is maintenance. You now own browser prerequisites, fonts, shared libraries, and every package mismatch that the official image would have absorbed for you.
Layering also affects browser version drift. If you pin the container image but let the Playwright package float, or the other way around, you create avoidable mismatches that show up as flaky installs or runtime errors. Keep the image tag, lockfile, and browser assumptions aligned on purpose. That discipline matters more than shaving a few megabytes off the build.
Watch the video on YouTubeOfficial Playwright Image vs Custom Build vs Clearcote
A Docker choice here comes down to who owns the browser and how much drift you can tolerate. The official Playwright image gives you the fastest path to stable CI because the browser binaries and OS dependencies are already aligned with Playwright's expectations. That keeps setup boring, and boring is good when your goal is repeatable test runs.
A custom build makes sense when the container has to match your host constraints more closely. Extra libraries, a different base distribution, or stricter security controls can all justify that route. The trade-off is maintenance. Once you own the image, you also own browser dependencies, package updates, and the version sync between the SDK and the browser stack.
Clearcote is the option for teams that want the browser layer itself under their control. That matters when you need identity consistency across jobs, long-lived sessions that survive beyond one test process, or CDP attach mode against a running container during scraping and debugging. In practice, that means you can keep one browser persona alive, reconnect to it from another job, and avoid rebuilding the full image just to change how the browser presents itself.
A good default is to choose the least custom image that still meets your browser and identity requirements.
| Image | Best for | Fingerprint control | Size | Licensing |
|---|---|---|---|---|
| Official Playwright image | CI testing, standard browser automation | Low | Moderate | Upstream Playwright terms apply |
| Custom build with your own base | Specialized OS needs, tighter image control | Low to medium, depending on your browser stack | Variable | Depends on the components you add |
| Clearcote browser image | Identity-controlled automation, CDP attach, scraping fleets | High | Variable | Open and licensed options available |
The table is the practical shortcut. If you want the least operational overhead, the official image stays the cleanest choice. If your container needs a specific OS shape, build it yourself and accept the upkeep. If the browser persona matters across runs, Clearcote gives you more control without forcing a full rebuild every time the browser setup changes.
Mounting Volumes and External Browser Binaries
The first mounts you should add are boring, and that's a good thing. Mount the project directory so you can edit without rebuilding. Mount the Playwright browser cache so browsers don't download every time. Mount the reports directory so traces, screenshots, and HTML output survive container exit.
That basic setup keeps iteration fast and keeps evidence around when a test fails. It also reduces the temptation to bake everything into the image just to avoid losing artifacts. A container should carry the runtime, not swallow the output.
When you need to go further, bind-mounting a browser binary from the host can be the right move. That lets Playwright launch a Chromium build the team controls, which is useful when you're validating a new browser release or testing a browser identity profile without rebuilding the whole image.
For a deeper practical note on browser packaging trade-offs, see the discussion of headless Chrome setup patterns. The same logic applies here, if the browser is part of the experiment, keep the mount boundary clear so you know exactly what changed.
A few rules hold up well:
- Mount the source code: it speeds local editing and shortens the cycle between change and test.
- Mount the cache: it keeps repeated runs from redownloading browsers.
- Mount the report folder: it preserves evidence outside the container lifecycle.
- Avoid mounting too much state: if the whole filesystem becomes shared, debugging gets muddy fast.
Practical rule: mount data you want to inspect later, bake data you want to trust forever.
Don't use volume mounts to hide image drift. If a browser or dependency belongs to the test environment itself, bake it in. If it belongs to the run output or to a reusable local cache, mount it.
Connecting Over CDP to a Running Container
A long-lived CDP endpoint changes how you use Playwright in Docker. Instead of starting a fresh browser for every script, you keep one browser session alive inside the container and attach to it over the debugging protocol. That's especially useful for agent workflows, persistent profiles, and scraping jobs that need one stateful browser to serve multiple tasks.
The flow is simple. Start the container, launch Chromium inside it with remote debugging enabled, expose port 9222, then connect from Playwright with connectOverCDP. That works across the common SDKs because the attachment point is the browser, not the test runner.
See the Playwright automation examples for attach-based workflows for a concrete framing of when a browser session should outlive a single test process.
A useful mental model is this:
- Container first, browser second. Keep the browser running so the session survives between jobs.
- Expose the debug port only where needed. CDP is powerful, so don't leave it open by default.
- Attach from your script. The test code connects to the live browser instead of launching a new one.
For Clearcote-style setups, the CDP pattern pairs naturally with a fixed-identity browser that keeps the same persona across runs. That gives you a clean separation between the browser runtime and the automation client, which is easier to operate than folding everything into one ephemeral container.
The security boundary matters here. A debugging port is not something you should publish broadly. Keep it private, proxy it when necessary, and treat it like an admin interface rather than an app port.
Debugging Playwright Inside Docker
The failures that only happen in a container usually point to a small set of causes. Missing --init leaves zombie processes behind. Limited shared memory can crash Chromium. Running as root can trigger permission issues. Docker networking can also make a site behave differently than your laptop does.
The fastest way to stop guessing is to map the symptom to the container setting. Use --init so PID 1 can reap children properly. Use --ipc=host when Chromium needs more shared memory than the default container setup gives it. Run as a non-root user so filesystem permissions look like a real runtime instead of a privileged shell.
A good debugging stack also keeps the browser visible when hidden mode isn't enough.
- Trace files on failure: keep
trace.zip, screenshots, and videos so you can inspect the exact run that broke. - Headful mode when necessary: use a VNC viewer if you need to watch the browser live.
- Playwright debug flags inside the container: make sure the container has TTY settings that don't swallow interactive output.
If a test only fails in Docker, inspect the container assumptions before changing the test.
Logs should tell you where the browser stopped, not just that the job died. If you see crashes around launch or shortly after a parallel burst starts, inspect shared memory and process handling first. If the browser launches but navigation behaves oddly, check permissions and network isolation before rewriting selectors.
Operational Reference and Next Steps
The defaults are simple. Pin the image and the Playwright package to the same release line. Install dependencies during build, not at runtime. Run with --init and --ipc=host when Chromium needs stable process handling and shared memory. Archive reports and traces as CI artifacts so failures leave evidence behind.
Some choices stay case by case. Headful mode is for debugging, not for every run. A custom base image is for teams that need OS control. Root versus non-root should be decided by how much container privilege your workload really needs, not by habit.
If you're comparing browser automation patterns across teams, the authoring software examples for teams resource is useful for seeing how repeatable workflows are documented and operationalized. That same discipline helps when you standardize containerized browser runs.
The next practical move is to decide whether browser identity matters in your workflow. If it does, a browser image with CDP attach and fingerprint control can save you from rebuilding the whole pipeline just to change the browser layer.
Clearcote Labs provides a browser platform built around a Docker image, a CDP endpoint, and a browser engine with identity controls, which fits Playwright teams that need more than the official image. If you're standardizing browser automation and fingerprint-sensitive runs, take a look at Clearcote Labs and see whether a drop-in browser layer fits your container strategy.